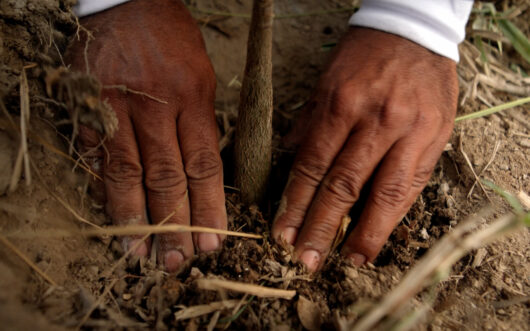
Making and spreading seed balls (also called seed bombs!) like those seen in “Rebuilding a Forest” is a fun and easy way to kick-start a local rewilding project and help out native wildlife. Native flowers and grasses are essential building blocks that benefit the entire ecosystem — by attracting pollinators and providing the cover of tall plants, you will also benefit birds, amphibians, and mammals. Seed bombs can also be great personalized gifts for nature-loving friends and family!
Here’s a step-by-step guide explaining how to make seed balls:
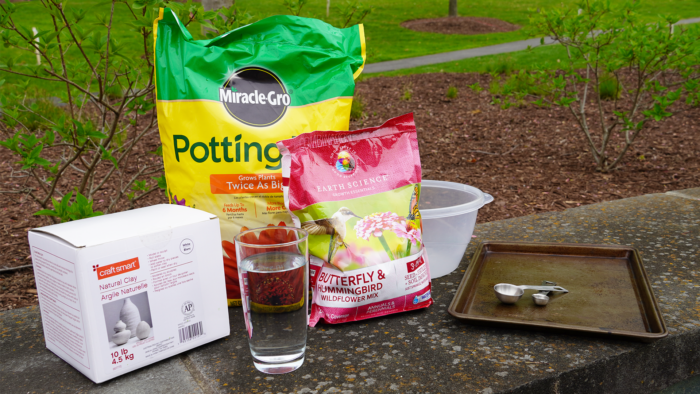
1. Gather Your Materials, Including:
- Natural clay (or clay powder) to act as a binder to hold everything together.
- Compost or potting soil to provide your seeds with nutrients.
- Seeds (be sure to choose a mix of native flowers).
- Water to moisten the mixture and help it stick together.
- A bowl to mix the ingredients.
- A baking sheet or tray to dry the seed balls.
- Measuring spoons to measure out proportions.
2. Choose Your Seeds
Using native plant seeds is a must! Select the seeds you want to use based on the area where you (or your gift recipient) plan to throw your seed balls. Avoid generic “wildflower packets,” which can include flowers that might be invasive in your region — the Xerces Society has a handy directory to help you find native plant suppliers in your area. If you’re located in North America, flowers in the milkweed and marigold families are a good place to start to attract pollinators and support local biodiversity.
3. Mix Ingredients
Consider doing this outside or over a tarp — it can get messy! Break off a piece of clay the size of a golf ball and flatten it into a quarter-inch thick circle. Then, add a couple of tablespoons of your compost or soil and a little bit of water. In a bowl, knead these all together until combined and roll your mixture into a sphere.
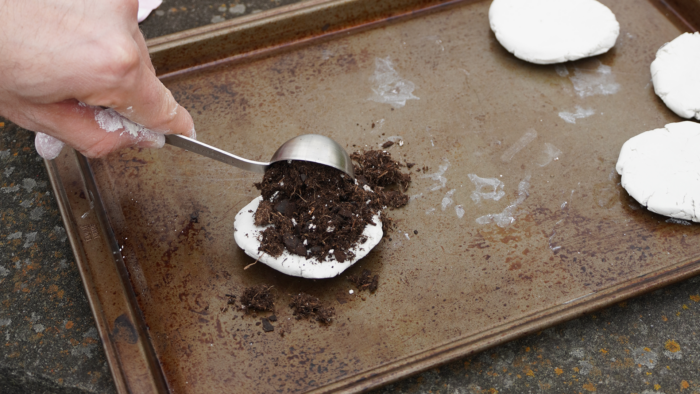
4. Add Seeds
Add half a teaspoon of your chosen seeds to a small bowl or other contained surface. Make sure to group seeds with similar light and moisture needs. Then, roll your clay ball around in the seeds while pressing down firmly so that they become embedded in the clay. Congratulations, you’ve made your first seed ball!
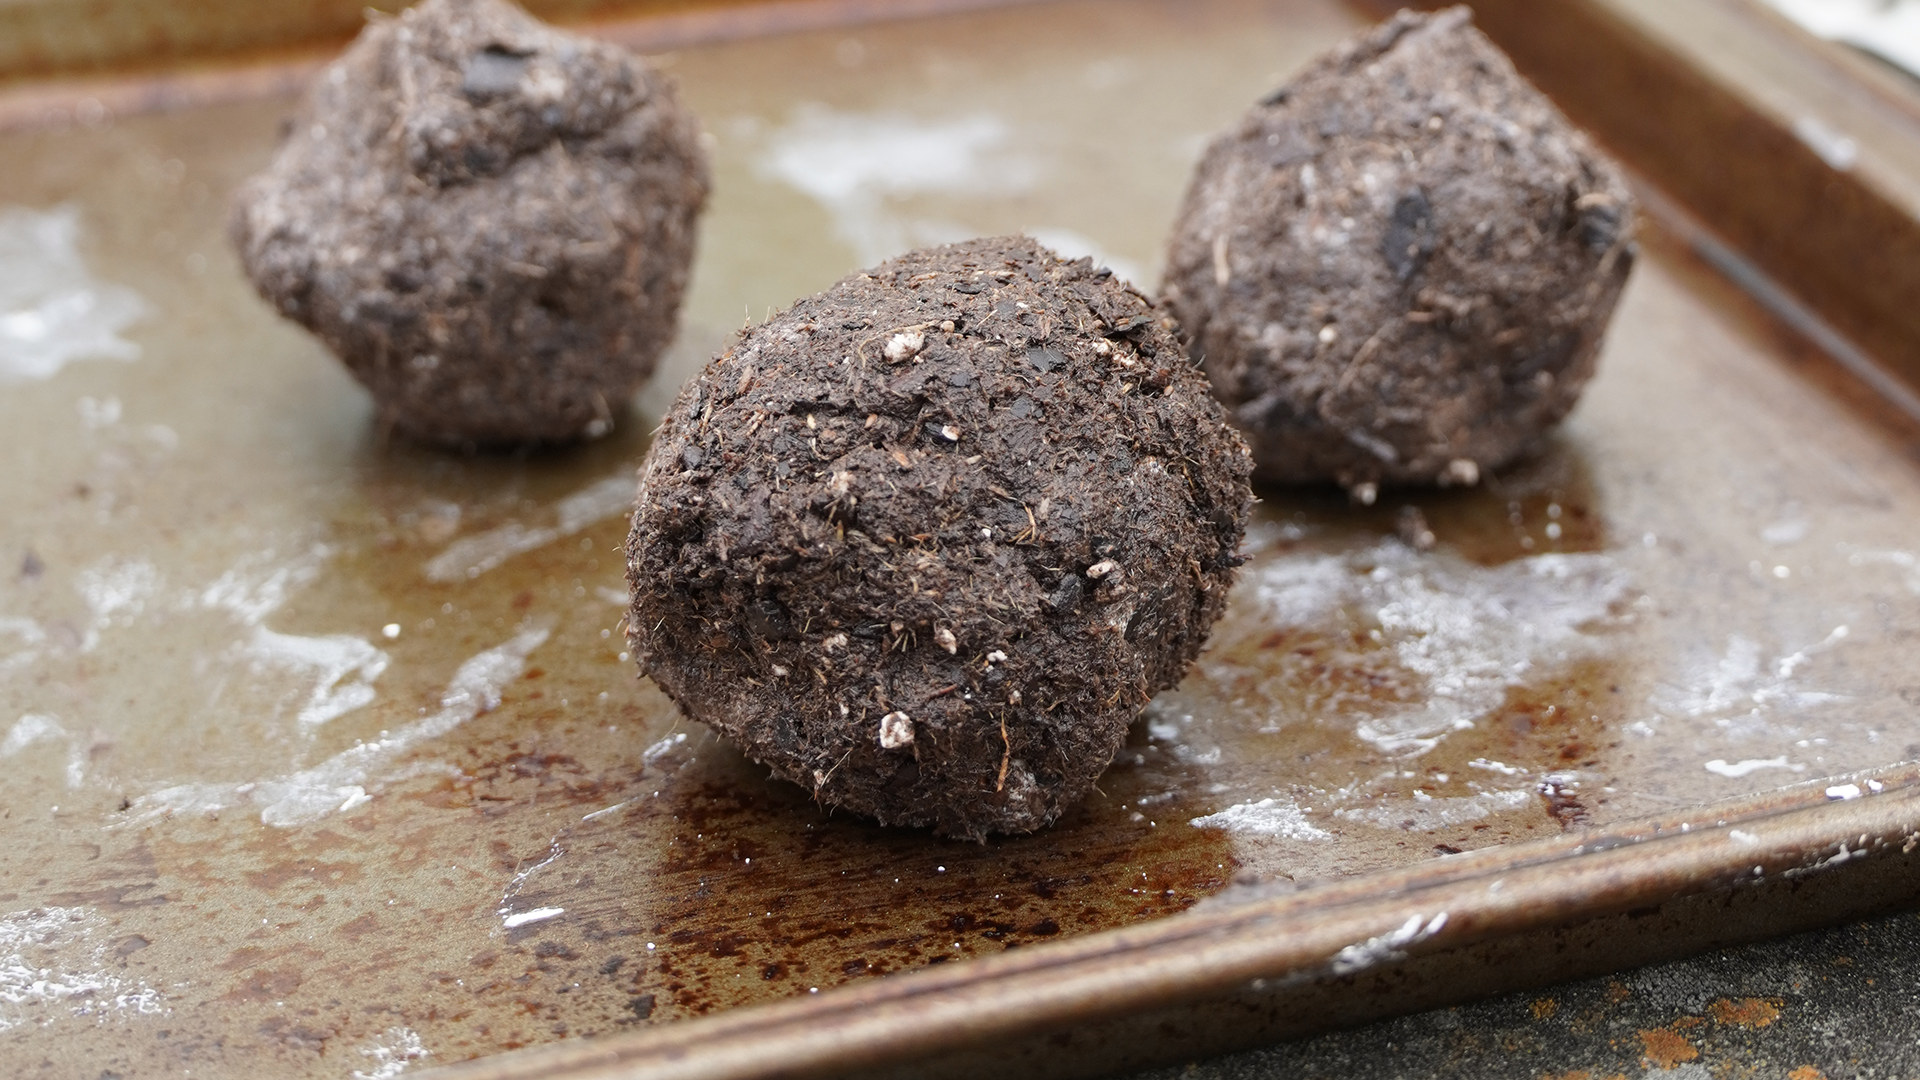
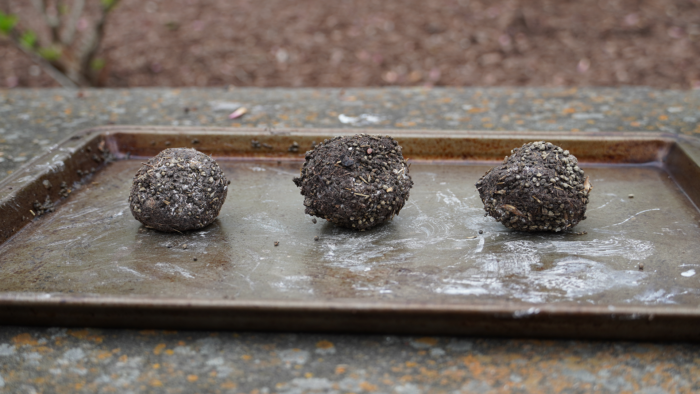
5. Dry
Place your seed ball on a baking sheet or tray to dry, and repeat steps 3–5 with your remaining materials until you have your desired number of seed balls. Let them air-dry for three to five days. If you are saving your seed bombs as presents, store them in a cool, dry place until you’re ready to give them away.
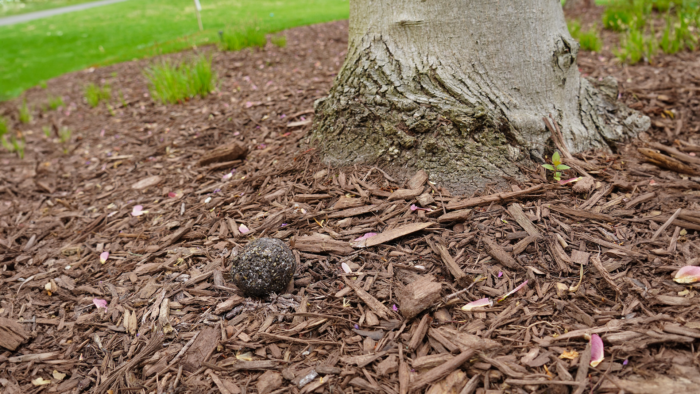
6. Choose Your Drop Site
If you have a section of your yard you are hoping to rewild, throw a few balls together to increase your chance of success. If you don’t have your own yard, you could throw a few near a neglected roadside or median, or in a vacant lot — just steer clear of private property and state and federal parks. Always double-check laws and regulations before throwing your seed balls in areas you don’t own.
7. Wait For Your Plants to Grow
After planting the seed balls, you can either wait for the first rain or water them lightly to help break down the clay and kickstart the germination process. Then, watch nature take its course!
By helping to reseed native plants, you’re taking part in a global movement of rewilding, reforestation, and habitat recovery. Seed balls are even being used in Brazil to restore the Atlantic Rainforest! The very same tools, ingredients, and methods that are rebuilding rainforests can be used to bring back native wildlife in your very own backyard.
If this post inspired you to make your own seed balls, let us know! Take pictures to show your progress and tag us on Instagram @wildhopetv.